Table of Contents
Crafting your strawberry jam recipe
Strawberry jam is more than just a spread; it’s a key ingredient that brings back happy memories and makes any meal better. Whether it’s with morning pastries or fancy desserts, strawberry jam fits right in. The tradition of making jam has been around for centuries and is still a favorite practice in many parts of the world.
People love strawberry jam for its nostalgic taste that also adds a touch of sophistication to adult recipes. When you make strawberry jam at home, you can choose what goes into it, avoiding the additives and preservatives often found in commercial jams.
In this first section of our strawberry jam recipe guide, we’ll cover the basics, from picking fresh berries to understanding the science of jam-making. Whether you’re making a small batch for yourself or a bigger one to share, these tips will help you make delicious jam. So, let’s gather our berries and begin this sweet journey!
Essential ingredients for strawberry jam
Creating the perfect strawberry jam recipe begins with understanding and gathering the right ingredients. Each component plays a crucial role in not only flavor but also the texture and longevity of your jam. Here’s a breakdown of what you’ll need and why each ingredient is so important.
Best strawberries for Jam
Choosing the right strawberries is paramount for your strawberry jam recipe. For jam, you want ripe, flavorful berries that are naturally sweet. Look for strawberries that are deep red, firm, and free of bruises. These will provide the best color and flavor concentration for your jam. It’s often best to pick your strawberries directly from a farm or buy them from a market when they’re in season for an unbeatable taste.
Types of sugar to use
Sugar is not just a sweetener in jam-making; it’s a preserver that helps to set the jam’s texture. Granulated sugar is the most commonly used type due to its availability and consistent results. However, for a deeper flavor in your strawberry jam recipe, you can experiment with a combination of granulated and brown sugar. Just remember, the amount of sugar you use can affect how well your jam sets, so stick to the recipe ratios initially before tweaking.
The role of pectin
Pectin is a natural gelling agent found in fruits, and it’s what gives jams and jellies their thick consistency. While strawberries contain some pectin, they often need a little help to achieve the perfect jammy texture in your strawberry jam recipe. You can choose to add commercial pectin for a quicker set or rely on the natural pectin in other ingredients like lemon juice. Deciding whether or not to use commercial pectin will depend on your texture preferences and how much cooking time you have available. Learn more about pectin here.
Understanding these ingredients and how they interact is the first step to making delicious strawberry jam. With the right berries, the perfect balance of sugar, and the correct use of pectin, you’re well on your way to creating a preserve that captures the essence of fresh strawberries. Now, let’s move on to preparing these ingredients for the best jam you’ve ever tasted!
Preparation techniques for your strawberry Jam recipe
Before you start cooking your strawberry jam recipe, proper preparation of your ingredients is key. This ensures that the flavors meld beautifully and the jam sets up perfectly. Here’s how to get your ingredients ready for the best strawberry jam.

Cleaning and preparing strawberries
First things first, your strawberries need to be washed thoroughly to remove any dirt or debris. It’s best to wash them under cold running water and then gently pat them dry. Once they’re clean, hull the strawberries by removing the green cap and any white core. Depending on your preference for texture in your strawberry jam recipe, you can chop the strawberries for a smoother jam or leave them whole for a chunkier version.
Sugar and its alternatives
While granulated sugar is traditional, don’t be afraid to mix things up. Using a combination of granulated and brown sugar not only adds depth to the flavor but can also enhance the jam’s color, giving it a rich, golden hue. If you’re looking for a lower-sugar alternative for your strawberry jam recipe, consider using honey or agave syrup, but be aware that these can alter the flavor and texture.
To pectin or not to pectin?
This is a crucial decision in the jam-making process. If you opt to use pectin, it will help your strawberry jam recipe set faster and with less cooking time, which can preserve more of the fresh strawberry flavor. If you choose to go without, you’ll rely on the natural pectin found in the lemon juice and extended cooking times to achieve the right consistency. Each method has its merits, so consider your schedule and flavor preferences when deciding.
Preparing your ingredients with care not only makes the cooking process smoother but also affects the final quality of your jam. Take the time to prepare properly, and you’ll be rewarded with a delicious homemade preserve that brings out the best in your chosen strawberries. Now, let’s heat things up and start cooking our jam!
Ingredients and instructions for making Strawberry Jam
Ingredients
- Strawberries : 2 pounds, fresh and fully ripe, hulled
- Sugar: 4 cups granulated sugar
- Lemon Juice: 2 tablespoons, freshly squeezed
Optional:
- Pectin: 1 package if you prefer a thicker consistency

Instructions
- Prepare the Strawberries: Wash your strawberries under cold water and then hull them. You can chop them if you prefer a smoother jam or leave them whole for a chunkier texture.
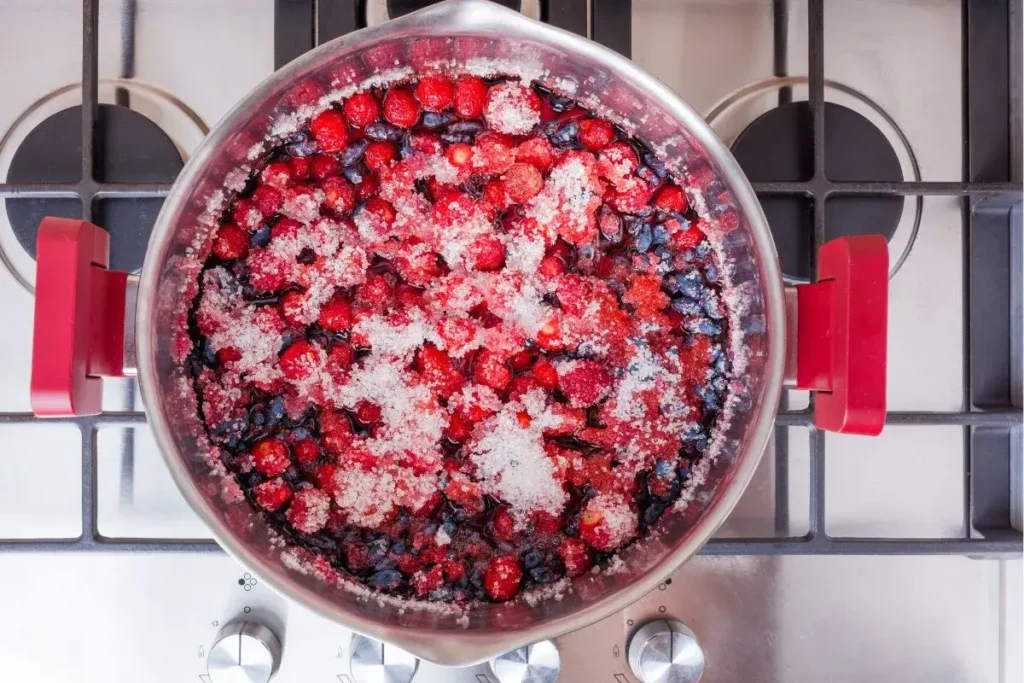
- Macerate the Fruit: In a large bowl, combine the strawberries with the sugar and lemon juice. Let them sit for 2-3 hours or overnight in the refrigerator. This helps in extracting natural juices and enhances the flavors.
- Cook the Jam: Transfer the strawberry mixture to a large saucepan and bring it to a boil over medium-high heat. If you’re using pectin, add it according to the package instructions.
- Skim the Foam: As the jam boils, foam will form on the surface. Skim this off with a spoon to ensure your jam is clear and smooth.
- Test the Jam’s Consistency: To see if the jam is ready, place a small spoonful on a cold plate. If it gels, it’s done. If not, continue cooking and checking every few minutes.
- Sterilize Jars: While the jam is cooking, sterilize your jars and lids by boiling them in water for about 10 minutes.
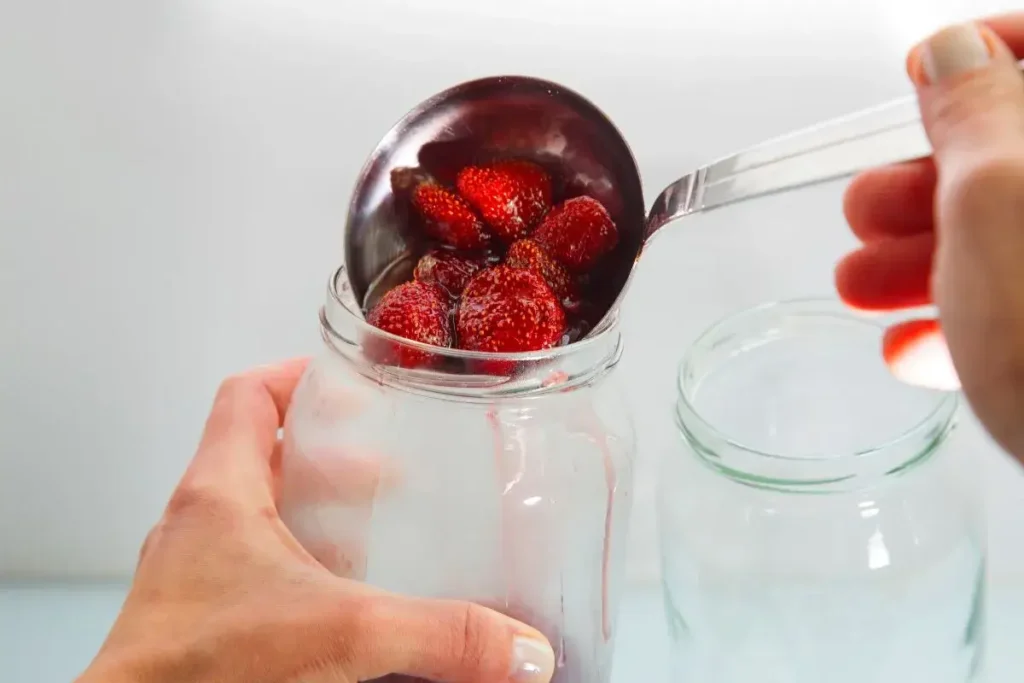
- Fill the Jars: Carefully ladle the jam into the sterilized jars, leaving about a quarter-inch of headspace. Wipe the rims clean, then seal with the lids.
- Process the Jars: Place the sealed jars in a boiling water bath for 10 minutes to ensure they are sealed and preserved. Remove and let them cool undisturbed for 24 hours.
- Check Seals: After cooling, check that the lids have sealed properly by pressing down in the center of each lid. If the lid doesn’t pop up, the jar is sealed.
Storage and preservation
Once your strawberry jam has reached the perfect consistency and flavor, proper storage and preservation are key to maintaining its quality over time. Here’s how to keep your homemade jam fresh and delicious.

Short-term vs. Long-term Storage
Short-term Storage: If you plan to consume your jam within a few weeks, storing it in the refrigerator is your best option. Ensure the jam is fully cooled before transferring it to clean, dry jars. Seal the jars tightly and refrigerate. Typically, refrigerated jam will stay fresh for up to three weeks.
Long-term Storage: For longer storage, freezing your jam is an effective method. Pour the cooled jam into freezer-safe containers, leaving about half an inch of space at the top to allow for expansion. Frozen jam can last for several months and is a great way to enjoy the taste of fresh strawberries year-round.
Can You Freeze Strawberry Jam?
Absolutely! Freezing strawberry jam is a fantastic way to preserve its flavor. Just make sure to use containers specifically designed for freezing to prevent any freezer burn or flavor transfer. When you’re ready to use the jam, thaw it in the refrigerator overnight before use.
Tips for Optimal Storage
- Use Sterilized Containers: To extend the shelf life of your jam and prevent contamination, always use sterilized jars for storage. You can sterilize jars by boiling them in water for 10 minutes or using a dishwasher on a high heat setting.
- Check Seals: Ensure your jars seal properly. A good seal keeps out bacteria and air, both of which can spoil your jam.
- Label and Date: Always label your jars with the date of canning. This helps you keep track of their shelf life and ensures you use the oldest stock first.
Common mistakes in Jam making
Jam making is a delightful hobby, but like any culinary endeavor, it comes with its own set of challenges. Recognizing and avoiding common mistakes can make the difference between a good jam and a great one. Here’s what to watch out for and how to steer clear of these pitfalls.
Overview of typical errors
- Overcooking the Fruit: Cooking your strawberries for too long can lead to a jam that’s more like a candy or a chewy paste rather than a spreadable delight in your strawberry jam recipe. It’s crucial to cook just until the jam reaches the gel point and no further.
- Underestimating the Importance of Acid: Lemon juice isn’t just for flavor in your strawberry jam recipe; it helps set the jam by interacting with the natural pectin. Neglecting to add enough acid can result in a runny jam that never quite sets.
- Skimping on Sugar: While it’s tempting to reduce the sugar to make the jam less sweet in your strawberry jam recipe, sugar is essential not just for taste but also for preservation and setting. If you want a less sweet jam, use a pectin that’s formulated for low-sugar recipes.
How to avoid these mistakes
- Use a Thermometer: A candy or digital thermometer can help you keep track of the temperature. Strawberry jam typically sets around 220°F (104°C), so monitoring the temperature can prevent overcooking.
- Test the Jam’s Set: Before you finish cooking, test your jam’s set by placing a small amount on a chilled plate. If it gels as it cools, it’s ready.
- Measure Ingredients Accurately: Follow recipes closely, especially when you’re starting out. Jam recipes are designed with a balance of fruit, sugar, and acid that helps ensure they set correctly.
Frequently asked questions
Are there benefits to making jam at home?
Absolutely! Making strawberry jam recipe at home allows you to control the ingredients, which means no added preservatives or artificial flavors—just pure, fresh fruit goodness. It also lets you customize the sweetness and texture to suit your taste, and there’s the added satisfaction of enjoying something you made yourself.
How long does homemade jam last?
Properly stored, homemade jam can last up to two years in the freezer and about three weeks in the refrigerator once opened. If using sterilized canning jars and following proper canning techniques, sealed jars can be stored in a cool, dark place for up to a year.
Can I use frozen strawberries?
Yes, you can use frozen strawberries to make jam. They’re a great option when fresh berries are out of season. Just remember that frozen berries may release more water, so you might need to extend the cooking time slightly to achieve the desired consistency.
Is it necessary to sterilize jars?
While it’s possible to store jam in clean jars that have not been sterilized, sterilizing your jars is a crucial step if you want to extend the shelf life of your jam. This process eliminates bacteria that could cause spoilage, ensuring your jam stays fresh as long as possible.

